|
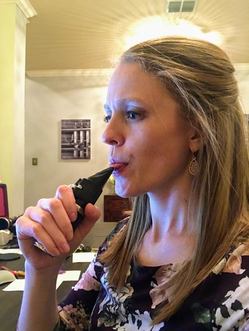
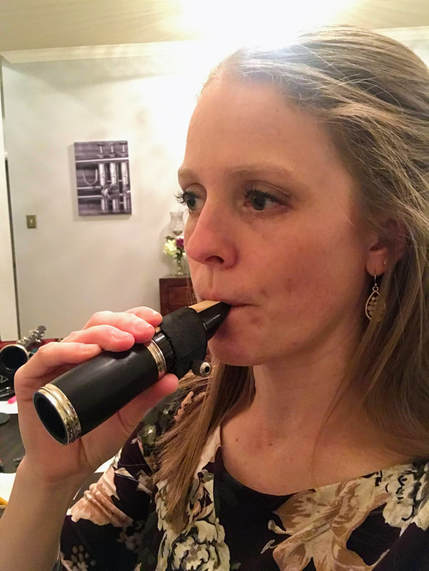
By Alicia DeSoto I’ll be honest, it wasn’t until the end of my freshman year of high school that a new private lesson teacher really taught me how to tongue. I had spent almost 5 years becoming sufficient at stopping my air to “articulate” before my new teacher finally stopped and showed me how to actually use my tongue for tonguing. I had a painful few months of relearning before my fingers and tongue finally lined up at an appropriate speed. To say that I’m fanatical about making sure all of my students can tongue properly would be an understatement! I’m going to discuss how I teach my clarinet students to articulate, because I think clarinet has the trickiest tonguing technique, due to the angle of the mouthpiece and the firmness of the embouchure. The other reed instruments have a more “straight in” reed angle, while the clarinet reed is pointing up at a higher angle, making it more likely for a student to miss the tip of the reed and thwat tongue too much of the reed. When to introduce tonguing? We don’t start tonguing in clarinet class until everyone is initiating and sustaining a consistent Concert F# on the mouthpiece and barrel. There are plenty of other upper joint and even entire clarinet exercises we can do while students are developing their embouchure muscles to maintain this pitch. If students are too low in pitch when introducing tonguing, the pitch will only get worse and not have the isolated opportunity to improve. We started tonguing in clarinet class about a week ago. 9/28 to be exact. A Friday would not have been my first choice to introduce as I would have preferred a follow up day to check for any weird habits and give additional reinforcement, but we weren’t ready on Wednesday and didn’t have class on Thursday due to our modified block schedule. So Friday it was! How to introduce? We start by saying “Tee” as fast as we can. Then we sort of say “Tee” into a fast airstream onto the palm of our hand. Next, I have the students stick their tongues out and put the tip of the clarinet reed (of their mouthpiece and barrel) onto the tip of their tongue. By sticking their tongues out to do this, I can make sure the students are aware of the two items (tongue and reed) that need to make contact. Next, I show the students that when I form an embouchure and place the tip of my tongue on the tip of the reed, and then blow out, no sound will happen, no matter how fast I blow, because the tongue is preventing the reed from vibrating. Then I have them try the same thing: put the tongue on the reed and blow (but don’t move the tongue off the reed). This confirms that the students are actually using the tongue to stop the vibration while they are blowing, and not stopping the sound due to lack of air. I then use my hand as an indicator for the tongue placement. An open hand means no tongue on the reed, and a closed fist means tongue on the reed. I have the students start with their tongue on the reed and blow fast air (my fist is closed), and then I open and close my hand as they move their tongue on and off the reed, all while blowing super fast. Final step: tongue as fast as they can. I make sure the students are tonguing quickly as soon as possible to ensure that their air is never stopping or slowing down, or that their throat isn’t tightening up. Tonguing slower rhythms like half notes and quarter notes gives the students too much time for their air to slow down between notes. Try to get students tonguing at least 3 fast notes right away, and then eventually slow the rhythms down while encouraging fast air through and between the notes. All of this is done without music and just on the mouthpiece and barrel. You will notice that even your best players lose a little bit of their embouchure control when they start tonguing. Students can only focus on one new skill at a time, so while thinking about the newest skill, the previous ones will initially deteriorate. After a few days, the pitch will return. Students will benefit from using a mirror to make sure their jaw isn’t moving while tonguing, or that nothing is moving their throat. Students can also put their left hand on their chin while tonguing to double check that it is firm and not moving. Constantly model and echo with students as they are learning how to tonguing. Describing tongue motion, air speed, embouchure musculature, soft palate and aural cavity voicing will only go so far. Often, just saying “Sound like this” will be significantly more effective and efficient. I continue to model mouthpiece and barrel echoes daily for the entire beginner band year, and into my 7th/8th grade clarinet sectionals. My Favorite Tonguing “Trick” One of my favorite go-to tricks in clarinet class is to turn the mouthpiece and barrel upside down. This puts the reed up against the top lip, and the mouthpiece itself resting on the bottom lip. Students will need to curl in their top lip over their teeth (like a double reed player) to utilize this trick. First, just have students create an F# on the upside mouthpiece and barrel. This could be enough of a project on the first attempt. Students will need to adjust the angle of the mouthpiece, as well as the amount of reed that they put in their mouth. If students mention that it tickles, tell them that it shouldn’t tickle if their lips are firm enough; it will only tickle if their lips are too loose (great embouchure firming trick as well!). Once they are able to produce a tone, have them try to quickly articulate. The great thing about this trick is that it is impossible to thwat tongue. The tongue can only articulate the reed if the tongue is striking high enough. If they use too much tongue and/or tongue too low, they will miss the reed altogether and awkwardly hit the mouthpiece instead. Immediately have students turn the mouthpiece and barrel right side up and start quickly tonguing again. Hopefully you notice a pleasant rise in pitch and clarity of tonguing!
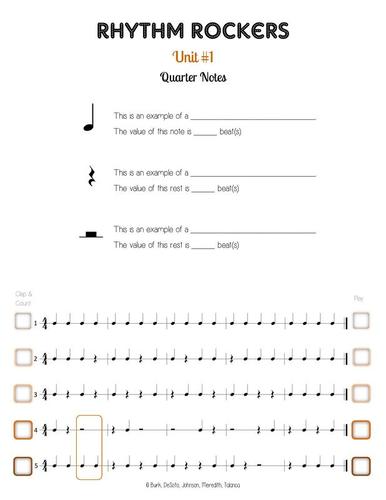
You will need to hear every student independently articulate daily for quite a while to make sure that no bad habits appear. Which leads me to my next item… The Rhythm Rockers Advantage! One of my favorite things about Rhythm Rockers is having the students earn their “Play” stickers on the right side of the page. After we are about a week into tonguing, I have students start earning these stickers. The kids think they are simply playing the rhythms and earning stickers, while I’m secretly giving feedback on tone, air speed, embouchure, breathing locations (NOT THE BARLINES! PLAN YOUR BREATHING!), note length, volume, pitch, and most importantly, articulating!! We have our students play Rhythm Rockers with only the small part of their instrument, in order to isolate this super important articulation skill without having to worry about holding and playing the entire instrument that may end up masking some fundamental issues. It’s a win win; the students are excited to earn a sticker, and we enjoy the opportunity to hear them articulate every day!
0 Comments
By Alicia DeSoto I can’t believe we’ve already had 3 full weeks of instrument instruction, and are about to start week 4! We’ve learned a lot of detailed, methodical elements, and are getting ready to start layering multiple steps together. By introducing only one step at a time, and rotating through multiple concepts each class period, the students remain engaged and are able to work towards mastering many different ideas. The following concepts have been introduced separately in all woodwind classes:
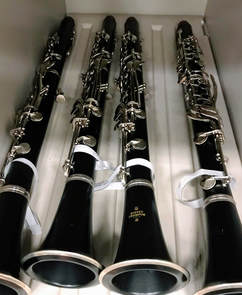
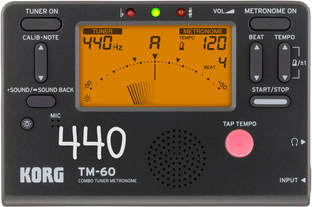
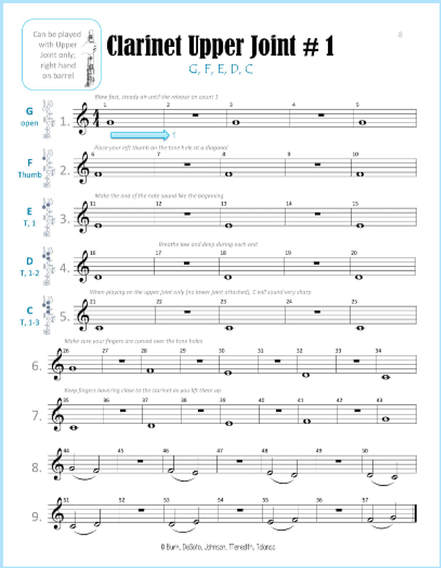
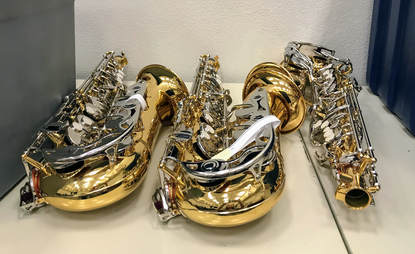
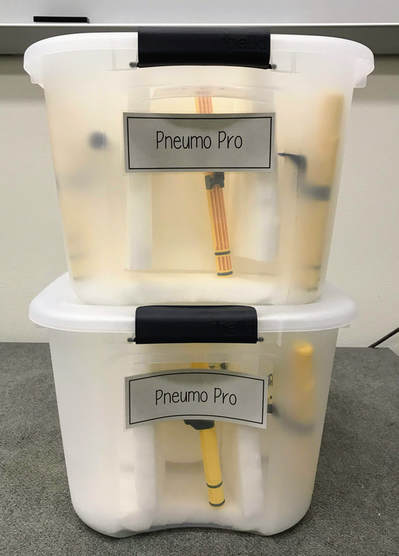
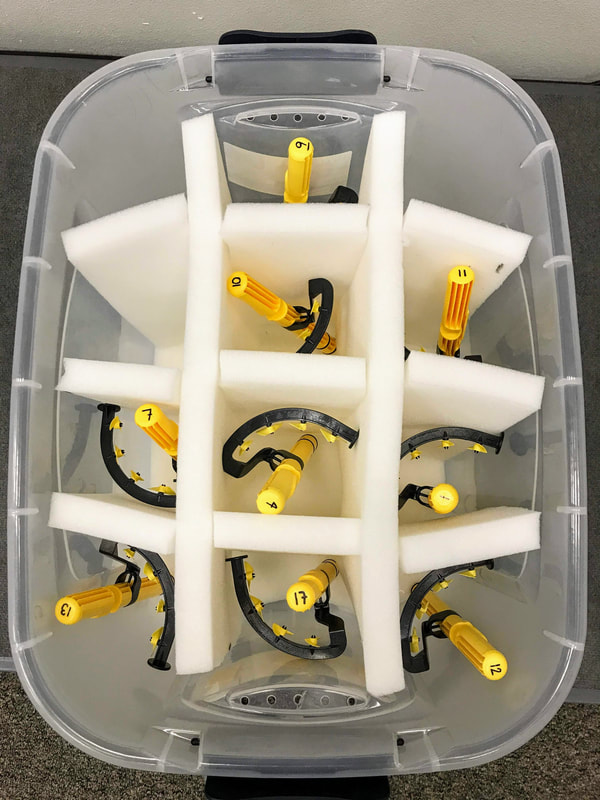
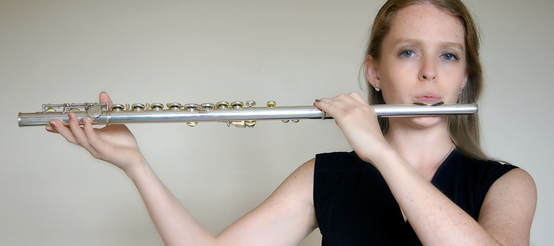
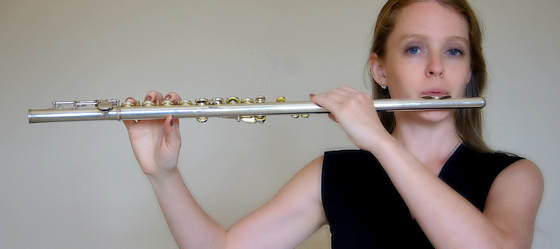
Period 1, Clarinet Class (I’ll go into more detail for this class than the others) Everyday after the Musical Alphabet and Rhythm Rockers, we go immediately to mouthpiece and barrel. It feels really nice to finally have this routine set; we will continue with this exact pattern until the last day of school. (Yes, we will continue to play on mp+barrel every single day; more on that later.) Since the students are being very careful (ie: slow) at putting their reed on their mouthpieces, this process takes a few minutes. I use this opportunity to have my 8th grade class aide play for the beginners, turn on band or clarinet specific music, or make announcements during this time. As soon as someone has their reed assembled, they sit in “ready position” and I check their reed and then let them make a tone. By the time the last student has their reed put on, I’ve been able to hear every student play individually and make reed and embouchure adjustment comments. The clarinet players are doing a great job matching concert F# on their mouthpiece and barrels now, and are able to sustain a good sound for at least 8 counts. More time is spent in class hearing students play individually than having everyone play at the same time. The mouthpiece and barrel went home with students before the Labor Day weekend. Before sending the mp+barrel home, we practiced going through a practice routine that should take place at home. I even had students use their own metronome/tuner and spread out into the corners of the room to get used to using their own metronomes and how to read and adjust the tuners. I had students write “440” on the front of their tuners with a silver sharpie...just in case. Once I felt everyone could consistently produce a characteristic tone on the mp+barrel, we added the upper joint. This happened two days ago. We will spend about two weeks on just the upper joint now. I want to enforce really good embouchure habits and make sure the left hand position is really good before adding the lower joint. There are plenty of activities we can do on the upper joint only (especially considering we haven’t started playing the clarinet and reading music at the same time yet!). This page is coming up next! Period 2, Saxophone Class Just like clarinet class, saxophone class took their mouthpiece and neck home just before the labor day weekend. And just like clarinet class, the rest of their instrument stayed at school. I taped their name to their instrument so we they could be identified. At open house and our beginner band parent meeting, we explained that we would move slowly for the first few weeks and to not expect the full instrument to come home just yet. We explained that this is both for instrument safety and for pedagogical layering. After the labor day weekend, we started to get used to holding the full saxophone body. The first day, we attached the neck strap to the body, and got used to how to balance the instrument against the leg with the use of the neck strap and how the two thumbs play a role in balancing the instrument. We didn’t even add the neck/mp that day. The kids were still perfectly excited. The second day, we practiced balancing the body again, and then added the neck and mouthpiece. I adjusted everyone’s neck angle and mouthpiece angle, and then walked around the room with a full length mirror to show each student what they are supposed to look like, and pointed out anything weird they were doing. The $5 full length mirrors from Home Depot are perfect for this! The third day, we were ready to play into the full instrument and can already keep the fingerprints on the pearls while trilling/wiggling, thanks to the pencil instrument dexterity practice we already did. Period 6, Flute Class Headjoint! Lots of headjoint! And Pneumo Pro! We alternate between playing on the headjoint and using fast air on the Pneumo Pros. Students are doing a great job focusing their aperture size smaller to make a big, full, clear flute tone. This is the only class where I tell the students to try to play as loud as possible. I even cringed a little while writing that, but it’s true, flute players need to get used to controlling a lot of really fast air. We are playing open sounds on the headjoint, as well as controlling closed sounds both low and high. The great thing about teaching the flute is that you can actually see the aperture and feel the air speed and direction. Students know how to check all these things with a mirror now too. We just added the flute body to the headjoint. Because flute hand position is the most awkward thing ever, we first held the flute like this: And on Friday we started putting our right hand into position like this: Both of these flute holds will yield a C#, and students should be able to play both the C# above the staff and the C# in the staff, if their three headjoint pitches are going well. This coming week, we will start transitioning our left hand into position. Period 7, Double Reed Class I’ll be honest, I only have 5 students in this class, and they are all extremely smart, so things are moving along pretty quickly. We are isolating sustained tones on just the double reeds, and incorporating articulations as well. Before putting the entire instruments together, we spent one day on just the oboe upper joint and the bassoon wing joint to isolate the left hand position, and then we were able to add the rest of the instrument the next day with reasonable success. We are spending most of our focus in this class on matching pitch by getting used to the right amount of reed to take into the mouth and how to shape the lips around the reed. Looking ahead: The next steps in all woodwind classes will be to read music and play the instrument at the same time, and to start introducing articulations. I really love introducing all these new concepts this time of year, and take it as a personal challenge to see if I can teach something more efficiently than the year before! By: Chris Meredith Want to have blockbuster results in your brass classes? Then have a detailed plan on what, how, and when you are going to introduce and implement lessons. The first quarter of the year will set up the foundation for how far you will be able to go the last quarter of the year. Warning: some of you may be really upset at how slow I move at the beginning of the year! Let’s be clear, the goal is to have really outstanding young musicians by the end of the year. So, the beginning of the year might look crazy slow to many! What is More Important Than a Detailed Plan?Being FLEXIBLE with your plan! I got way too ambitious when planning out my “week 2” plan back at the beginning of “week 1” (see “How to Make the First Week Count”). We ended up doing a lot more reinforcing of how to place the mouthpiece: What does it FEEL like? What does it LOOK like? Along with tons of reinforcement of creating the air stream with and without the mouthpiece. How does the air FEEL on your hand? What does the air SOUND like? Week 1 & 2 Results: Week 1:
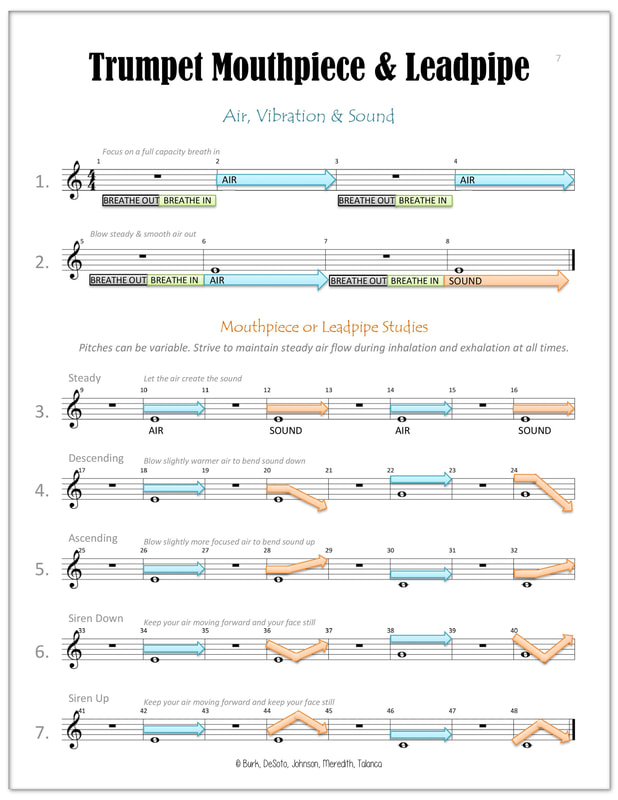
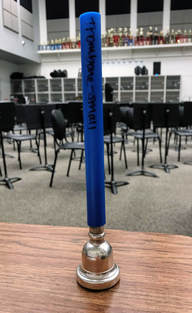
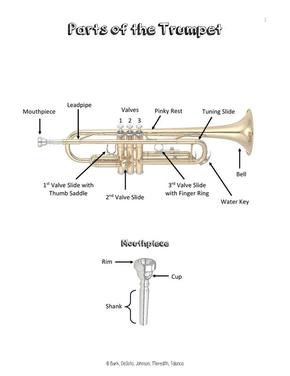
Missed Items In Week 2In a perfect world I would have introduced how to assemble the Trombone and how to hold the Euphonium and Tuba. These classes are going really well - I’ll get to it this coming week! It would have been nice to finish the Note Naming Fun page early in the week and then do an additional note naming sheet toward the end of the week. Oh well. The next two weeks will offer many opportunities to reinforce note reading! Warning: Short Week Ahead!Week 3 with the Brass is going to be a big one after our three day Labor Day weekend! Here are the BIG GOALS: #1 Beginning of the End of Musical Alphabet Pass-offs Passing off the musical alphabet at the very beginning of class each day allows us to establish a classroom culture. On a daily basis Students are setting and achieving short and long term goals, peer to peer instruction can happen, independent learning is taking place, students achieve daily progress and build confidence and self-esteem with each performance opportunity, and students building a sense of belonging to music and the group. Now it’s time to start Rhythm Rockers which will take nearly the rest of the year to complete but use the same principles we’ve just established. #2 Reinforcing Air The sound we create starts with how we approach the air we use. So, we will continue to review how to appropriately breathe everyday. We will continue to monitor mouthpiece placement and the appropriate airstream used on the mouthpiece BEFORE we allow vibration daily. We can hear EVERYTHING in just how they blow into the mouthpiece. You can hear the speed and shape of the air column, if there is anything obstructing the air in the mouth, and you can certainly feel (with a hand monitoring at the end of the shank) characteristics of a well defined airstream. Once these points are reviewed everyday I am trying to make it to the instrument as soon as possible to produce the sound on the instrument. #3 Initial Sound This next week my goal is to get the French Horns onto the horn and playing once their mouthpiece air is in place. The conical nature of the horn makes it incredibly easy to make a good sound if the leadpipe placement is correct and the class has consistently been creating the appropriate airstream on the mouthpiece. Trumpets! We will be on our trumpets with the main tuning slide pulled out. On Friday, I secured all of their tuning slides in a locker so that when they take their trumpets home this coming week they will not be tempted to add it in too soon. The note they should get if they are using the correct air stream is an E (D concert). You can easily bend it to a F if you want to, but I like placing them on the E. Our goal will be able to get everyone solid on an E by the end of this coming week! Trombones, Euphoniums and Tubas: We will be working on initial sounds by adding 6.5 inch tubing to our mouthpiece shanks to allow for a more natural resistance like the actual instrument would create. As soon as the Euphoniums and Tubas are comfortable holding their instrument we will quickly transition sound to the instrument. The trombones are naturally going to take a couple extra days to be comfortable holding their trombones in playing position, but once they look good consistently holding their trombones we will start producing sound! #4 Note Names! Our classes will not be reading and playing music at the same time for probably another two weeks. So, this is a great time to get them mentally way ahead so that when we do start reading the first five notes (Instrument First Notes, pg. 8) they will think it’s really easy! We will be doing various note naming games on the board like “Around the World” and some speed note naming sheets. My goal is to give you an updated post on where we are in our classes at least every two weeks! This is a crazy time of year as we are making huge preparations for our big annual fundraiser (Music Miles 5K and Fun Run) and getting our Honor Winds band ready for their Midwest Clinic performance in less than four months. Be on the lookout for Alicia's Woodwind Update soon!
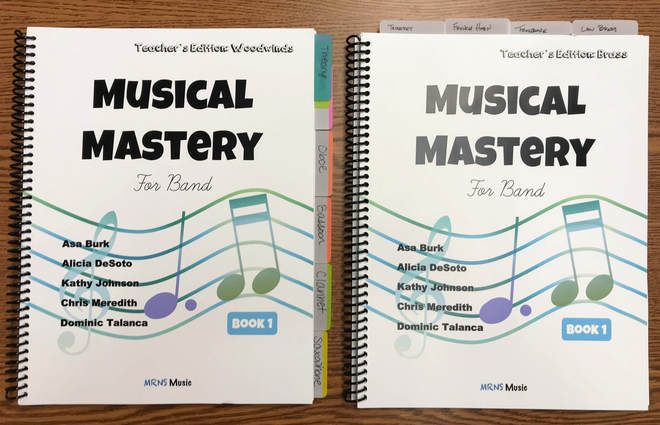
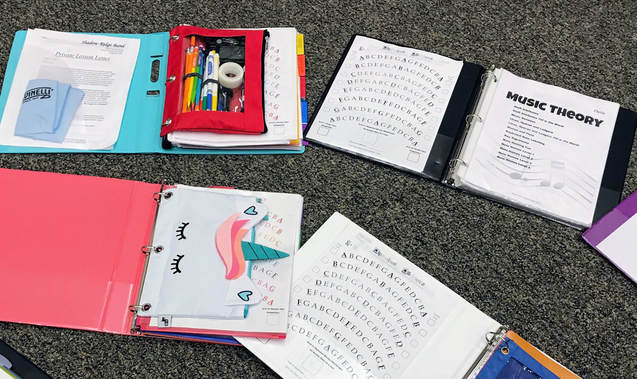
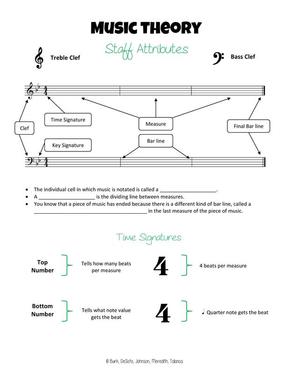
First impressions in any situation is vitally important in establishing a norm for future engagements. How we prepare for and treat the first week of instruction with our new students will directly impact how far we can take them in one year. It's the First Week of School!Technically, we started last week on Wednesday, August 15th. We considered that “Week Zero” since it was only three days long. Good news! We were still able to get a lot done! We took roll multiple times (to memorize student names/faces), collected 90% of forms (yay forms!), introduced important rules from our Band Handbook, opened up and labeled every individual item in their instrument supply kits, and barely started the process of learning and passing off lines of the musical alphabet. Alicia: Getting our Teacher’s Edition books ready! This is the first year we have an official bound copy too! I am going to try tabs on the side for each instrument and post-it notes to mark daily pages, and Chris is going to try tabs on the top and paper clips to mark daily pages. We are super pumped to have all of our materials in one place! First In-Class ProjectAlicia: On Friday, we had Band Binder Assembly day in our beginner classes! While this may seem simple, it still managed to take a full 40 minutes. Students were required to bring: 1” binder Pencil pouch with 3 rings to go in binder 4 pencils (mechanical prefered!) 2 different colored highlighters 1 dry erase marker (to write on the white board for full class activities, and to write on the page protectors) 5 Dividers (we have students label these: Theory, Rhythm, Instrument, Scales, Songs) 30+ page protectors We copied (double sided) the Music Theory, Rhythm Rockers, and first few pages of Instrument Instruction. While watching the students assemble their band binders, there is a lot we can learn about them:
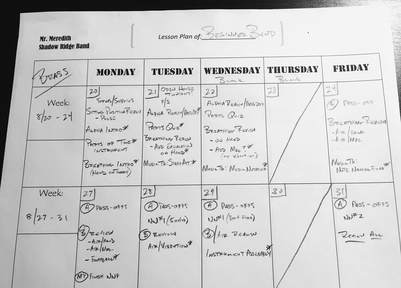
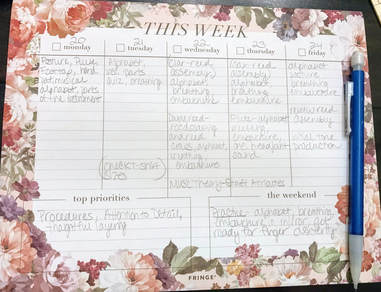
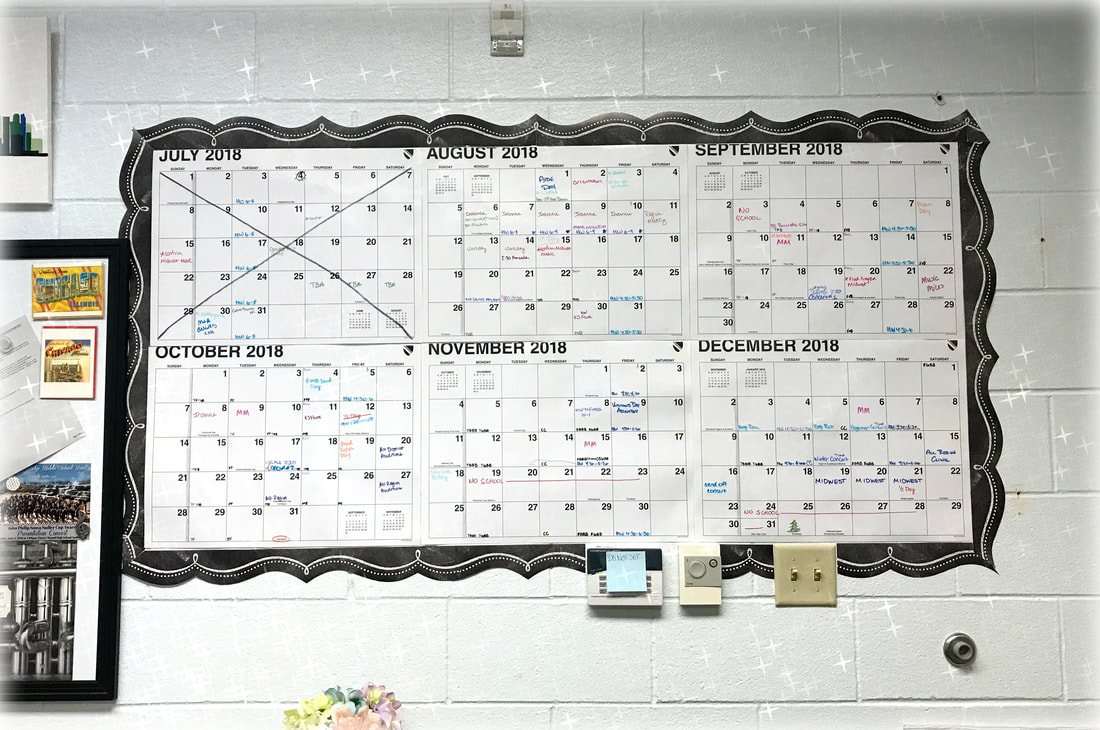
Planning Ahead!Now, we have a full week to firmly establish a classroom routine through musical activities that will systematically build the foundation for starting their instrument. Chris (Brass): In the photo below you will notice that I have anything “new” marked with an asterisk next to it*. In a perfect world I would like to introduce something new everyday the first few weeks, even if it’s a tiny element that we are layering on top of something the child already knows. We do a lot of reinforcement day to day. It is crucial for building muscle memory and for general learning! So, you will notice that we are reviewing a lot, but within that reviewing we will be making students more aware of how they are executing the objective. For Brass the big items on the agenda this week are:
For Woodwinds:
Alicia: You might also notice that we have block days on Wednesday/Thursday. That means we see each class for twice as long (85 minutes) but only on one of those days. Even though we miss out on seeing the kids everyday of the week the extended time can be extremely beneficial. For example, I’ll have to teach reed assembly on those days, so need to prep the days before to lead up to that activity Woodwind Finger WigglingAlicia: I like to teach finger dexterity and finger patterns on a pencil “pretend instrument” before handling the entire fragile instrument. By the time students are holding their full instrument, they should know the order of their fingers and the first few fingerings that will show up on their first notes page.
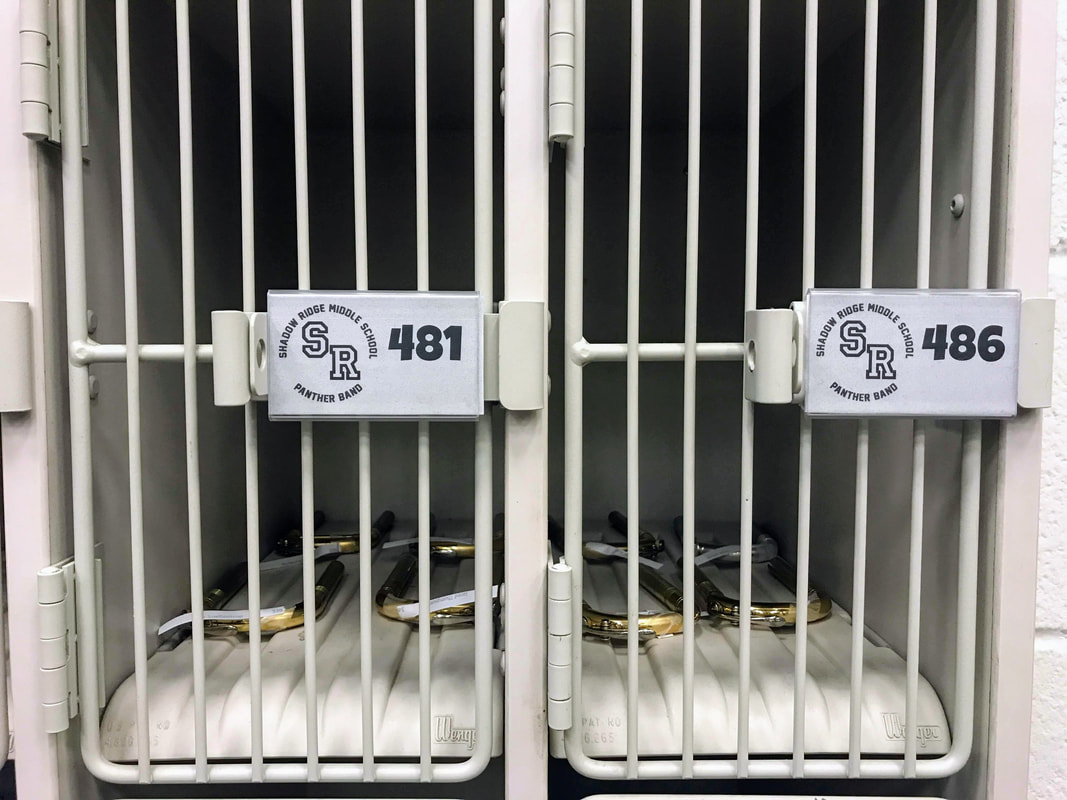
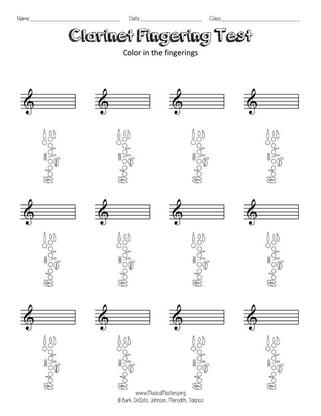
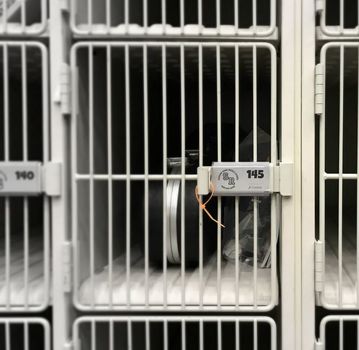
Take advantage of this beginning of the year excitement and start with a few easy fingering and note names quizzes. Simply draw in the notes you plan on introducing first for this basic fill in the blank fingering test. We tell our students that we only give out 100’s on quizzes. At first they are super excited to hear this, but then we elaborate to say that they will continue to retake all quizzes until 100’s are earned. Throughout the year, we create new quizzes for new notes learned, or use the tests to reinforce previous notes that students are struggling with. This is also a great way to jump start “summer brain” with your older students at the beginning of the school year. We are excited to offer you the opportunity to teach with us side-by-side throughout the year. Shadow Ridge has been one of the testing grounds for our Musical Mastery Beginner Book, so it is the perfect place to demonstrate how we use the materials. When & Where?Chris: Last year I had so many people asking, “Where are you in the book?” or “When do you introduce <insert anything really important!>”. So, Alicia and I decided this format was way overdue to help keep everyone in the loop! To be completely honest, this is probably the worst time in the world to add more things to our plate. On top of all the normal “trying to get school ready” stuff, we are also preparing the Shadow Ridge Band for a performance at The Midwest Clinic. Yeah, not smart timing, but there almost never seems to be good timing for anything! Prep, Prep, PrepC: Now, we are in the same boat every middle school director is right now. We’ve got four full pages of a “To-Do List” and every time we cross one item off we pencil in two more! The key is to stay focused and on task. Alicia and I divide and conquer all of the administrative duties that need to be squared away from the first day of school. Additionally, we bring in lots of help (8th grade leaders) to tackle tasks that we do not necessarily have to handle ourselves. Our leadership day with 8th grade “Band-Aides” is when we spend some time developing their leadership skills and a ton of time getting the Band Hall ready for the first day! We strategically place this date the day after the beginner instruments are delivered from the music store and the day before school orientation. Our 8th graders save us hundreds of working hours by handling the following: Taking Inventory of all Beginner Supplies Updating Locker Name Plates Placing all Beginner Instruments/Supplies in Lockers Securing Beginner Lockers with Zip Ties Prepping all School Owned Instruments for the Fall (Oiling, Greasing, Polishing) Laminating Certificates (ahead of time) Cutting Laminated Items Label Making Vacuuming Cleaning Whiteboards Prepping Bulletin Boards Copying & Organizing Most of that copying and organizing is getting the Musical Mastery Beginner Book ready for each 6th grader in our program! No Two Years Are Created EqualTeaching beginner classes is a thrill. Every year brings a whole new set of challenges along with incredible opportunities.
Join us as we tackle every essential beginner topic as it comes up throughout the year. We look forward to hearing for many of you! |
Authors:
|





 RSS Feed